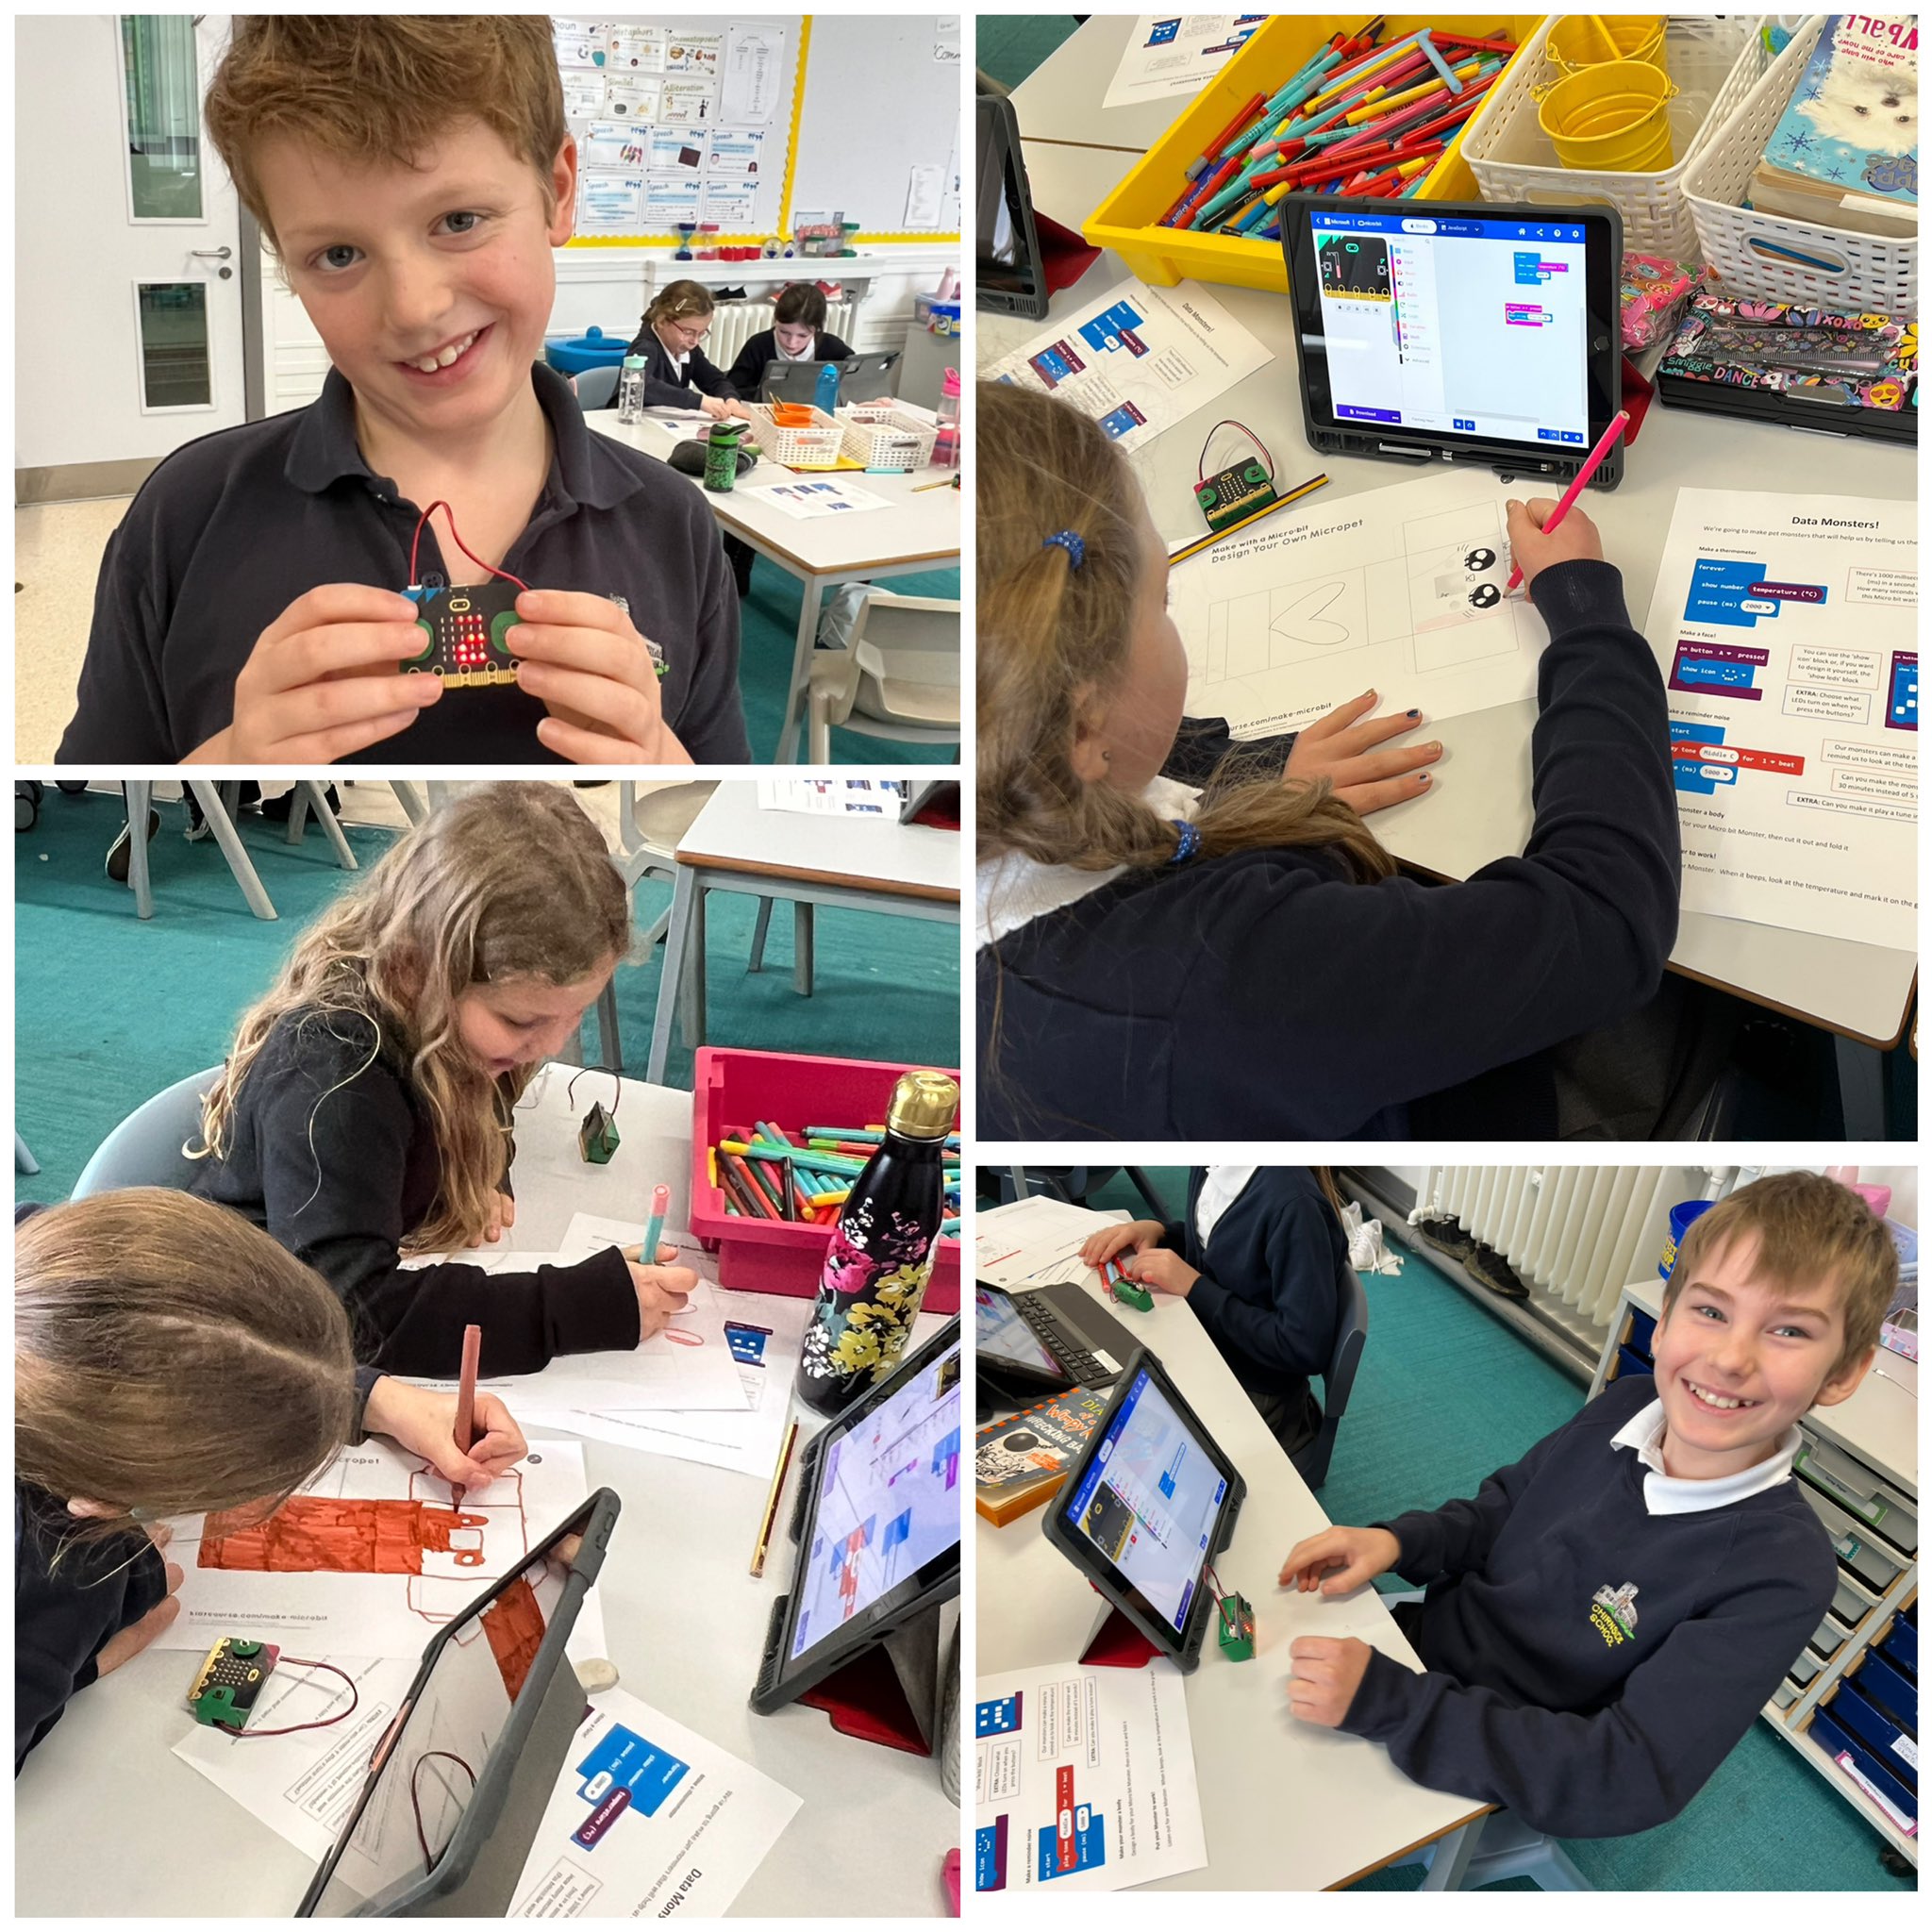
Make a Micro:bit Monster and put it to work collecting data for you! In this lesson, learners will code a micro:bit to show a face and make sounds, as well as sense the ambient temperature. The learners can then design a papercraft monster to fit round the micro:bit, and decide where in the classroom or school they will put their monster.
They will then collect temperature readings from their monster over a time period, chart these on the provided graphs, and compare their graphs with others to answer questions such as: what is the hottest/coldest part of the classroom?; what is the hottest/coldest time of day in each location?; is the outside temperature too warm to wear a coat at breaktime?; when the classroom goes above/below a certain temperature, does it correlate with our ability to learn?
Learners at Duns and Chirnside Primaries in the Scottish Borders making their Data Monsters.
Materials required:
-
- A set of microbits (learners can work in pairs if need be)
- Laptops or ipads to create the code
- Scissors, tape or glue, and coloured pens for creating the papercraft monsters
- Printable handouts, papercraft templates, and graph templates, all available below.
Printable resources:
-
- Handout with instructions and starter code: PDF version and editable Word doc.
- Papercraft templates for the microbit monsters: These papercraft templates from kidzcourse.com need tape or glue to stay together and to hold the microbit in place. Important: Please view the printing instructions for this activity at the bottom of the page so that the templates are printed at the correct scale.
- Graphs to record temperature: PDF version and editable Word doc
Extension activities
-
- Decide the temperature (and light range?) that your monster likes. Have it make a happy sound or face when it’s in its optimal range, and/or a sad sound or face when it’s outside of this range (for clues, see Microbit sunlight sensor resource).
- Build a house for your monster to keep it in its optimal light and temperature zone.
- If you’ve placed your monster outside your classroom, have it send its temperature readings to a central microbit via radio signal, so that you don’t have to keep leaving the room to check. (For help with this, see Microbit thermometer resource)
Other useful resources for working with microbits
-
- Micro:bit Cheatsheet! Print out this one-page PDF handout and keep it nearby to help with common troubleshooting issues. Editable powerpoint file.
- Micro:bit Unplugged Coding Blocks. You can cut these out and use to help learners plan out their code without needing to use a device. Useful for beginner coders.
- Micro:bit algorithm planning sheet. Useful for the extension activities and learners looking for a challenge.
- Micro:bit award certificates to present to learners for successfully coding a micro:bit!
Micro:bits for P1-4!
The above activity is ideal for Level 2 learners (P5-7) but if you have a mixed-level class, or want to try using micro:bits with your P1-4 learners, we have a resource for you, successfully tested with First (and even Early) Level learners! Micro:bit Monsters for Early/First Level.
If you require a resource in an alternative format, such as large print or a coloured background, please contact dataschools@ed.ac.uk detailing which resource(s) you require.
Printing Instructions for Micro:Bits Monsters Activity
When printing this worksheet, please ensure that the scale setting is set to “Default” in your print options. This will ensure that the worksheet prints correctly, without any distortions.
Important:
-
- Do NOT select the “Fit to Printable Area” option, as this may alter the size and layout of the worksheet.
- The “Default” scale setting will keep the proportions as intended.
If you are unsure how to adjust these settings, here’s a quick guide:
-
- Go to your Print Preview screen.
- Under Scale, choose Default.
© Data Education in Schools, University of Edinburgh, 2024. This resource is licensed CC BY-NC 4.0, unless otherwise indicated.


